Week 2: Computer-Aided Design
This week focuses on exploring various Computer-Aided Design (CAD) tools for both 2D and 3D modeling, as well as mastering file compression techniques for web documentation.
2D Design Process: From Sketch to Vector
My 2D design process started with a hand-drawn sketch of the pill box. To transform this into a functional digital format, I followed these steps in Inkscape:
- Importing the Sketch: I first imported the photo of my manual drawing to use it as a base layer.
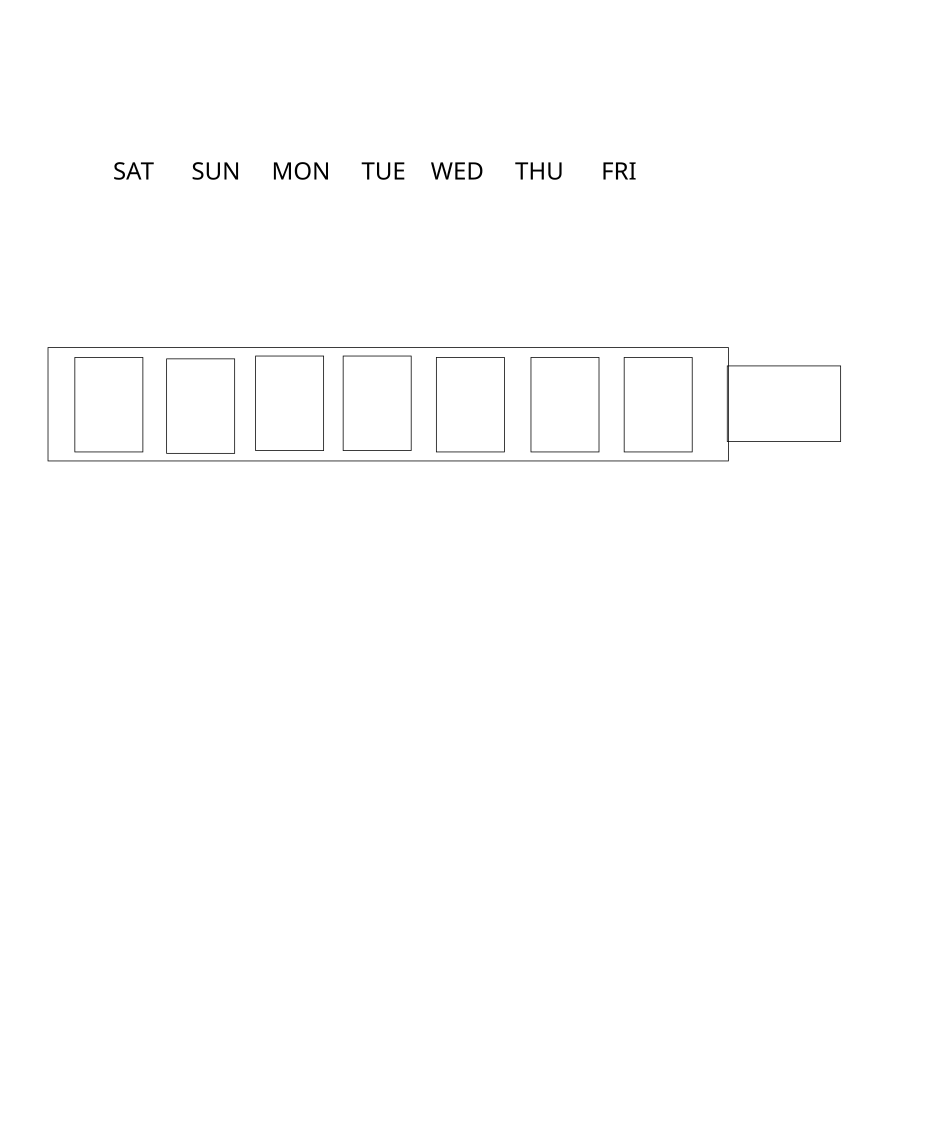
- Using the Rectangle Tool: Since my design consists of several compartments, I used the Rectangle Tool to draw precise boxes over my sketch. This ensured that all chambers of the pill box had consistent dimensions.
- Refining with the Bezier Tool: For more complex parts or connecting lines that weren't simple shapes, I used the Rectangle Tool. This allowed me to create clean, scalable vector paths by clicking on the anchor points of my drawing and adjusting the curves.
- Scaling and Units: I ensured that the design was set to real-world units (millimeters) to maintain accuracy for future production.
- Exporting: Finally, I exported the result as an SVG file, which is a vector format that retains its quality at any size, unlike the original pixel-based photo.
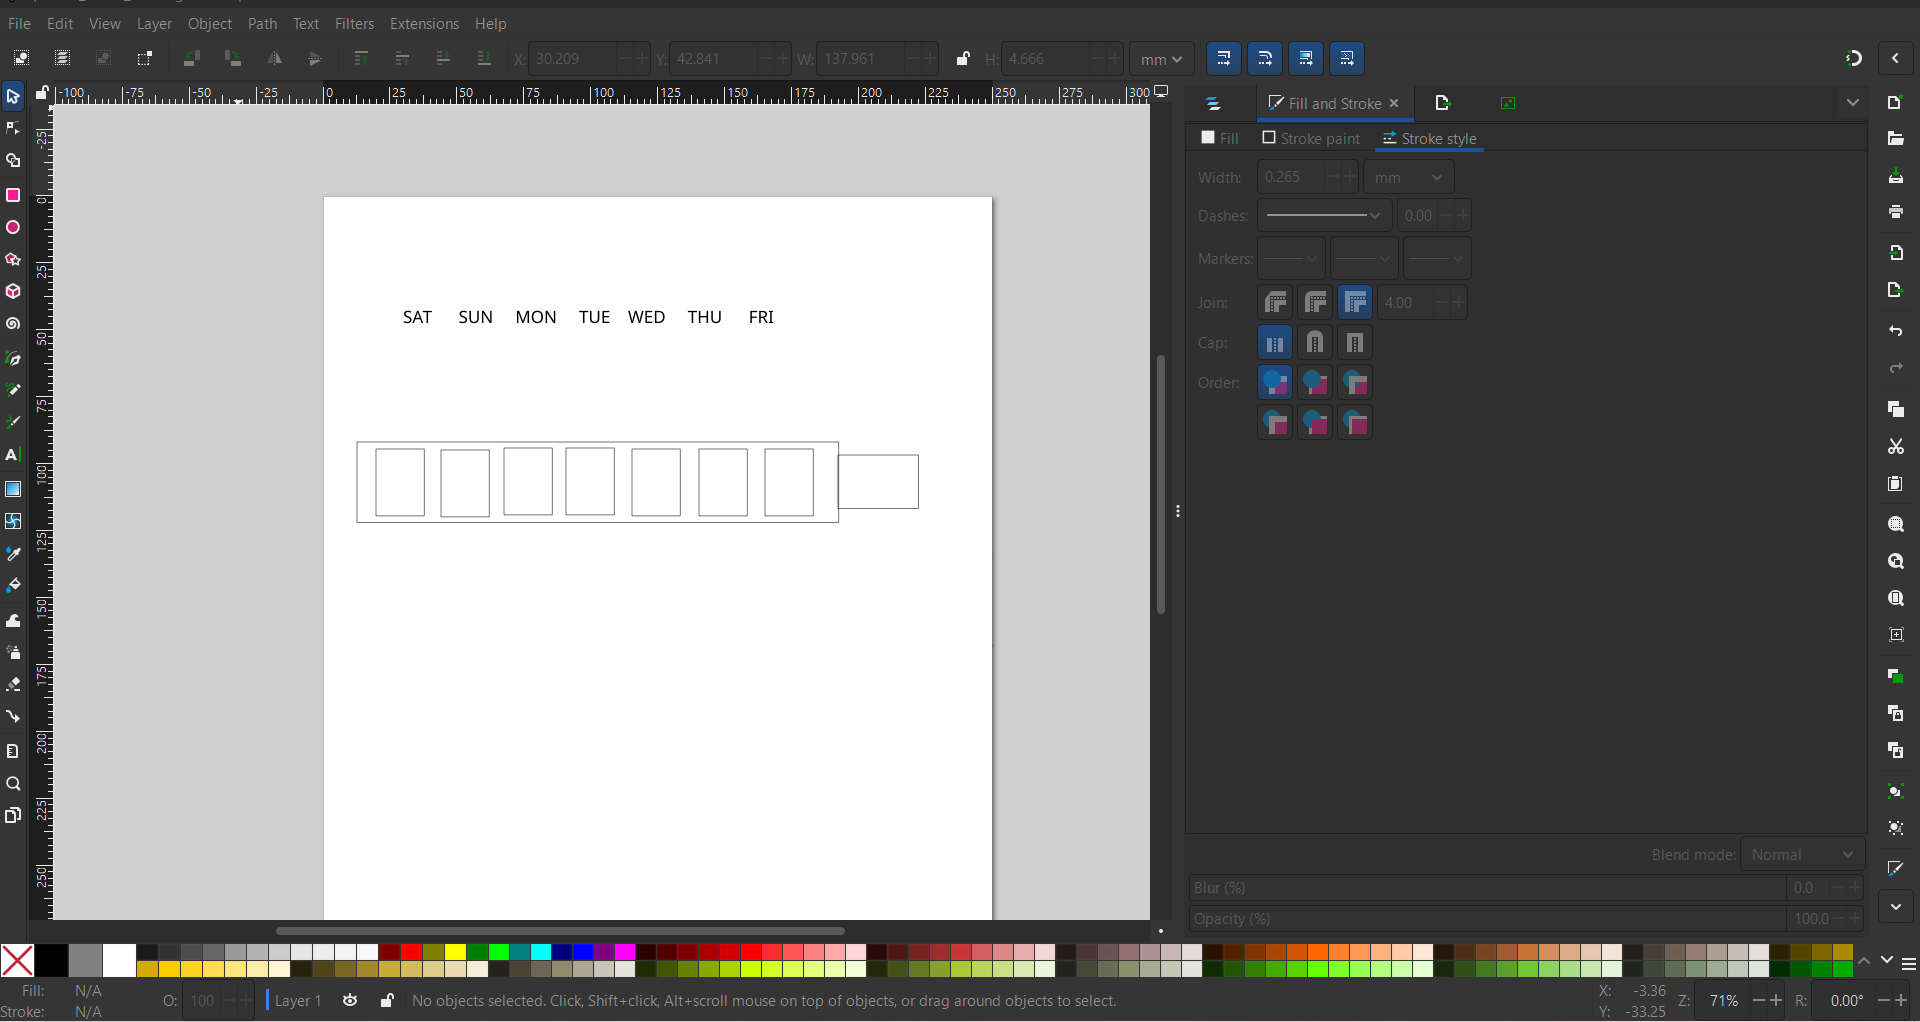
Figure 1: Final vector layout in Inkscape.
Image Compression with GIMP
To optimize the images for the web, I used GIMP to apply lossy compression, aiming for a balance between visual clarity and fast page loading. During the JPEG export process, I enabled the "Show preview in image window" option to monitor the real-time impact of the Quality slider on file size. As shown in the documentation, by reducing the quality from 63.5% to 58.5%, the file size dropped from 101.9 KB to 96.4 KB. Additionally, I utilized Optimize and Progressive settings to improve browser rendering performance and enhance the overall user experience.
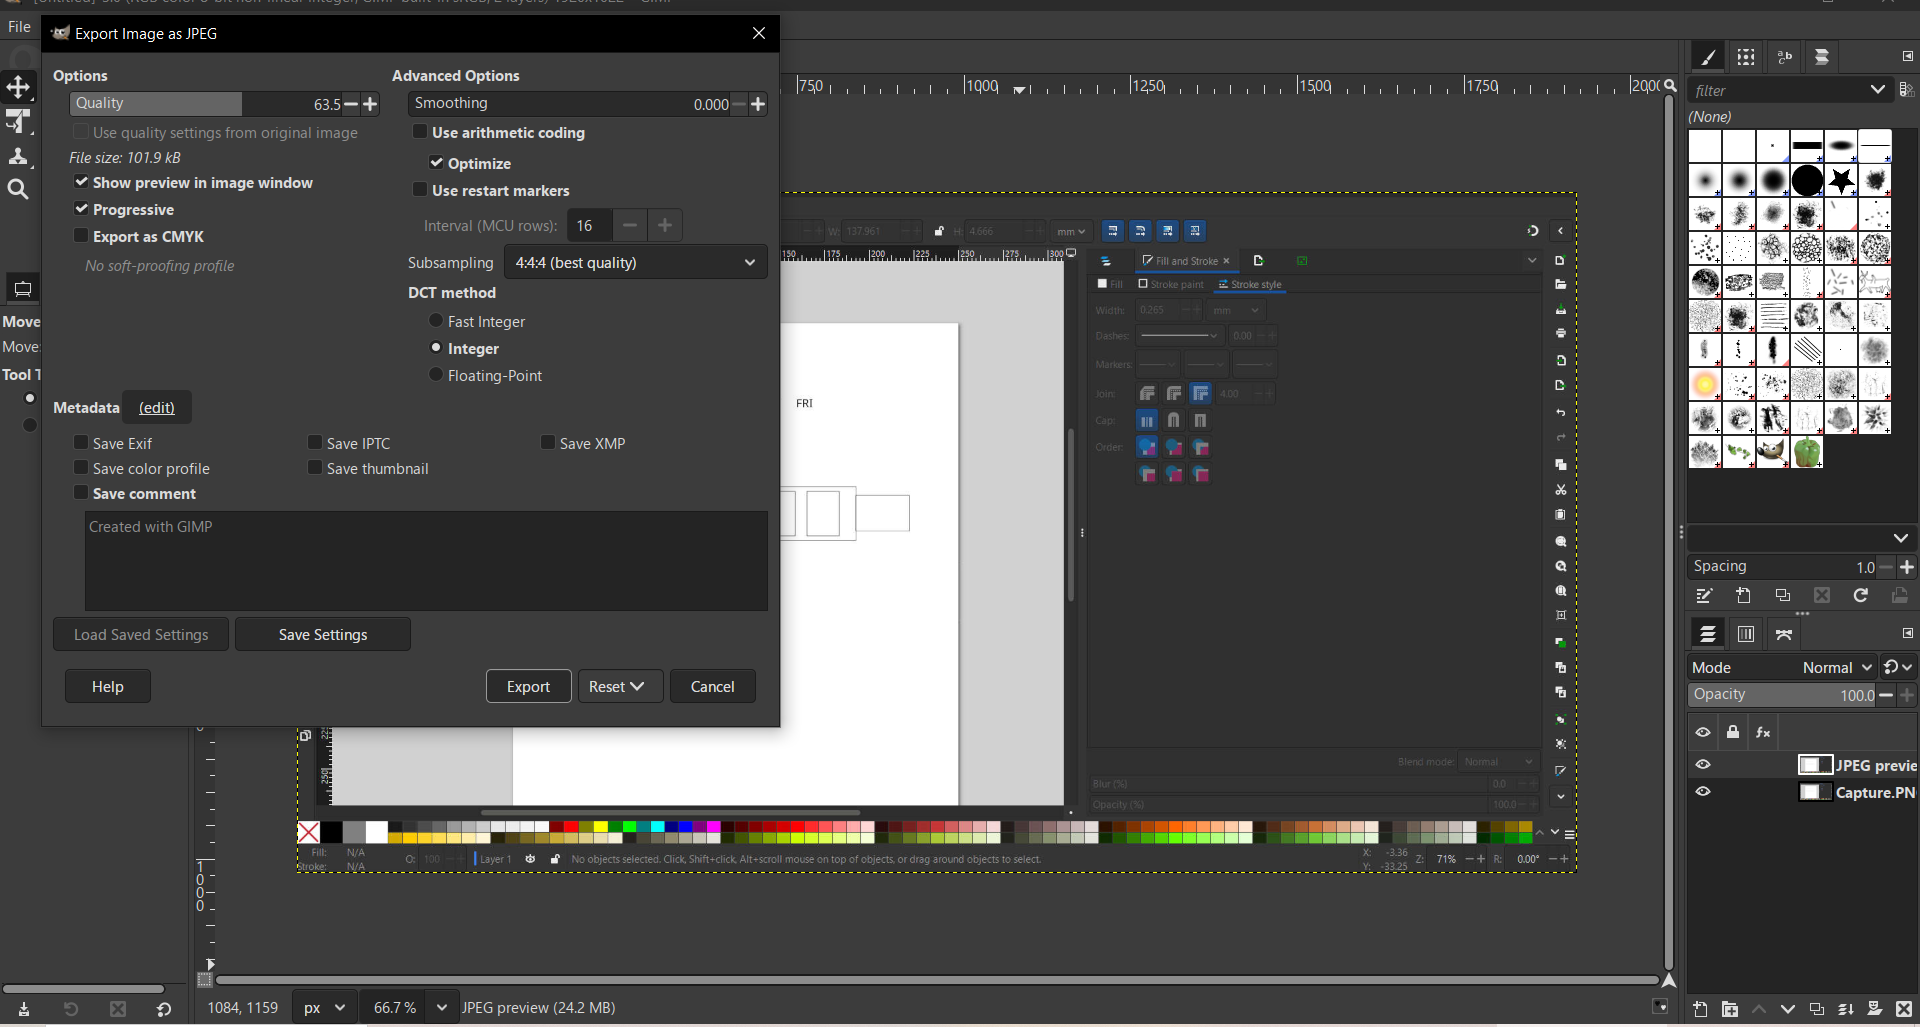
Step 1: Quality 63.5% (101.9 KB)
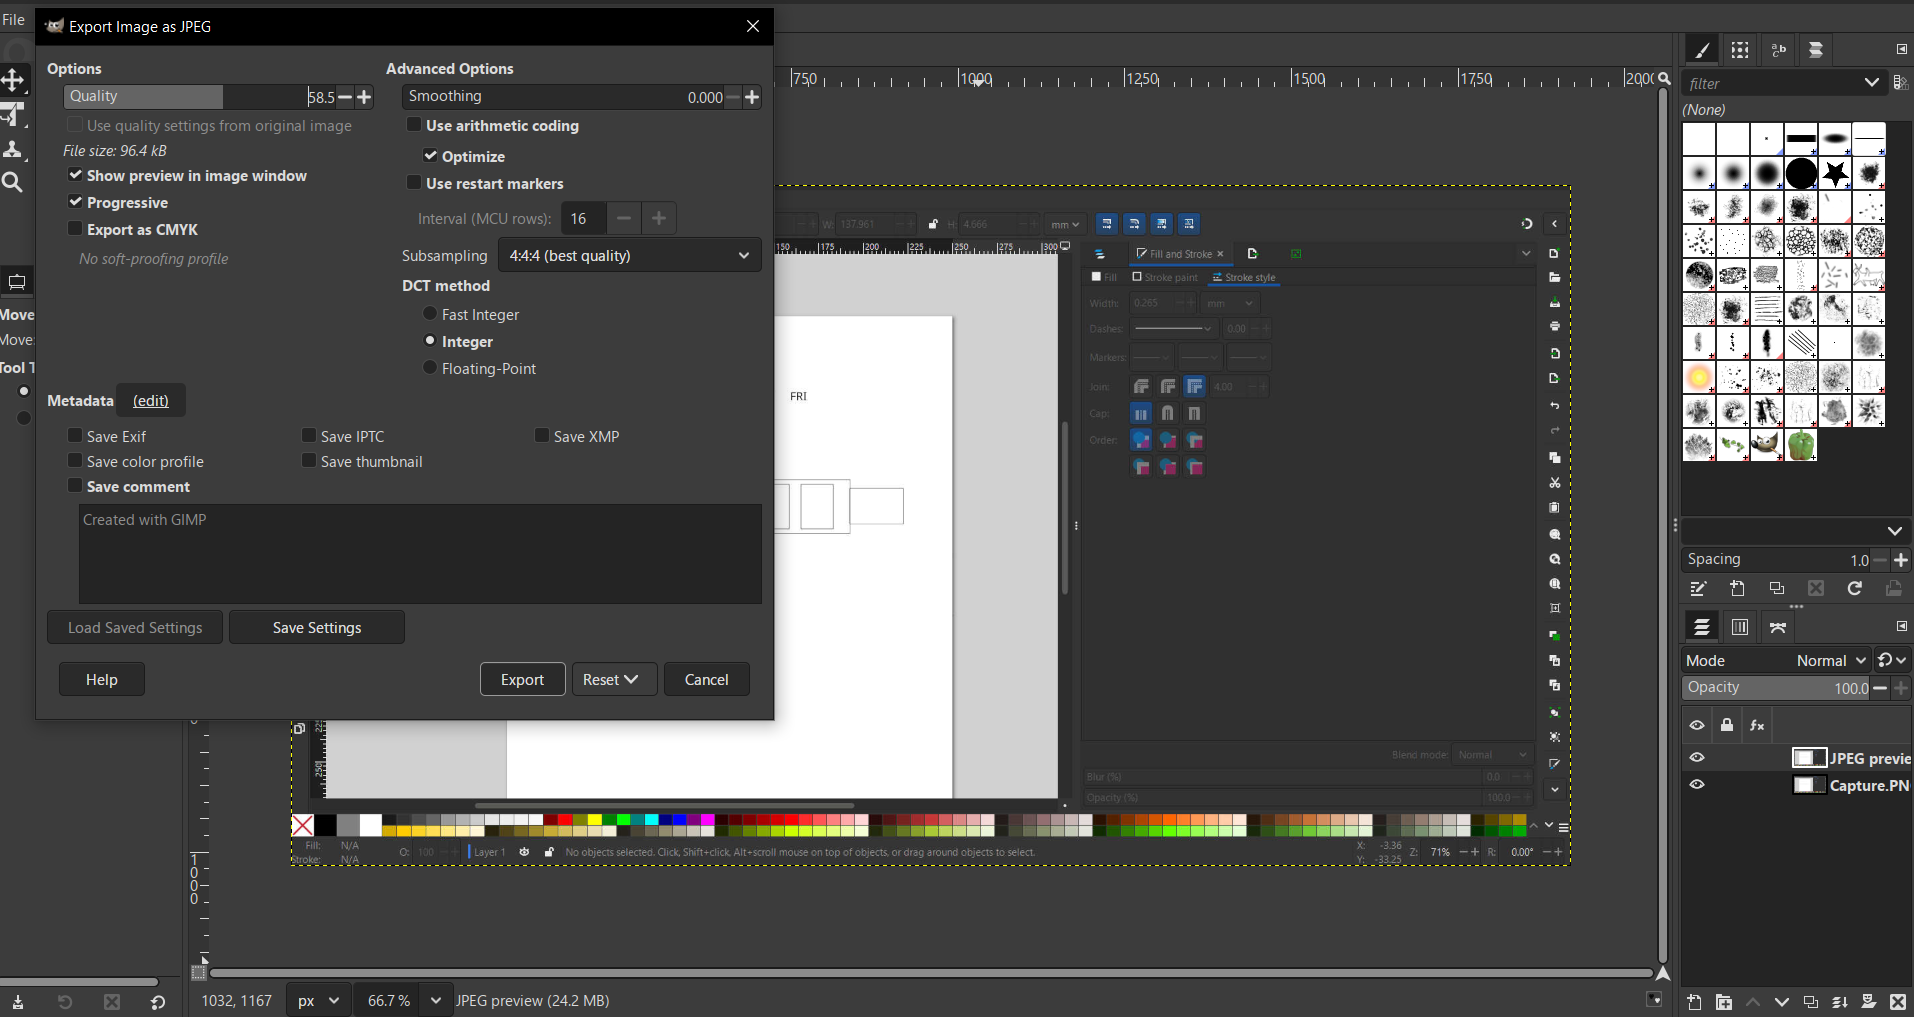
Step 2: Quality 58.5% (96.4 KB)
3D Rendering in Fusion 360
In Fusion 360, I began by creating a 2D Sketch on the XY plane to define the base and internal compartments of the pill box. I then used the Extrude tool to transform these profiles into a 3D volume, giving the body its height and depth. To improve ergonomics and aesthetics, I applied Fillets to all sharp outer corners and top edges. Finally, I transitioned to the Render workspace within Fusion 360, where I assigned a 'Matte Plastic' Appearance to the body and distinct grey tones to the lids before generating the final high-quality visualization. After rendering, I used GIMP to optimize the image for the web by exporting it as a JPEG and reducing the quality to, which successfully compressed the file size from its original state without losing essential visual clarity.

Figure 2: Final 3D visualization of the pill box in Fusion 360.
Video Compression with Handbrake
For the 3D animation, I used Handbrake (a GUI for ffmpeg) to encode and compress the raw recording. To ensure fast web playback, I enabled the "Web Optimized" checkbox, which optimizes the MP4 structure for streaming. By limiting the framerate to 30 FPS and using the H.264 codec, I successfully reduced the file size from 884 KB to 671 KB without sacrificing visual clarity of the CAD model.
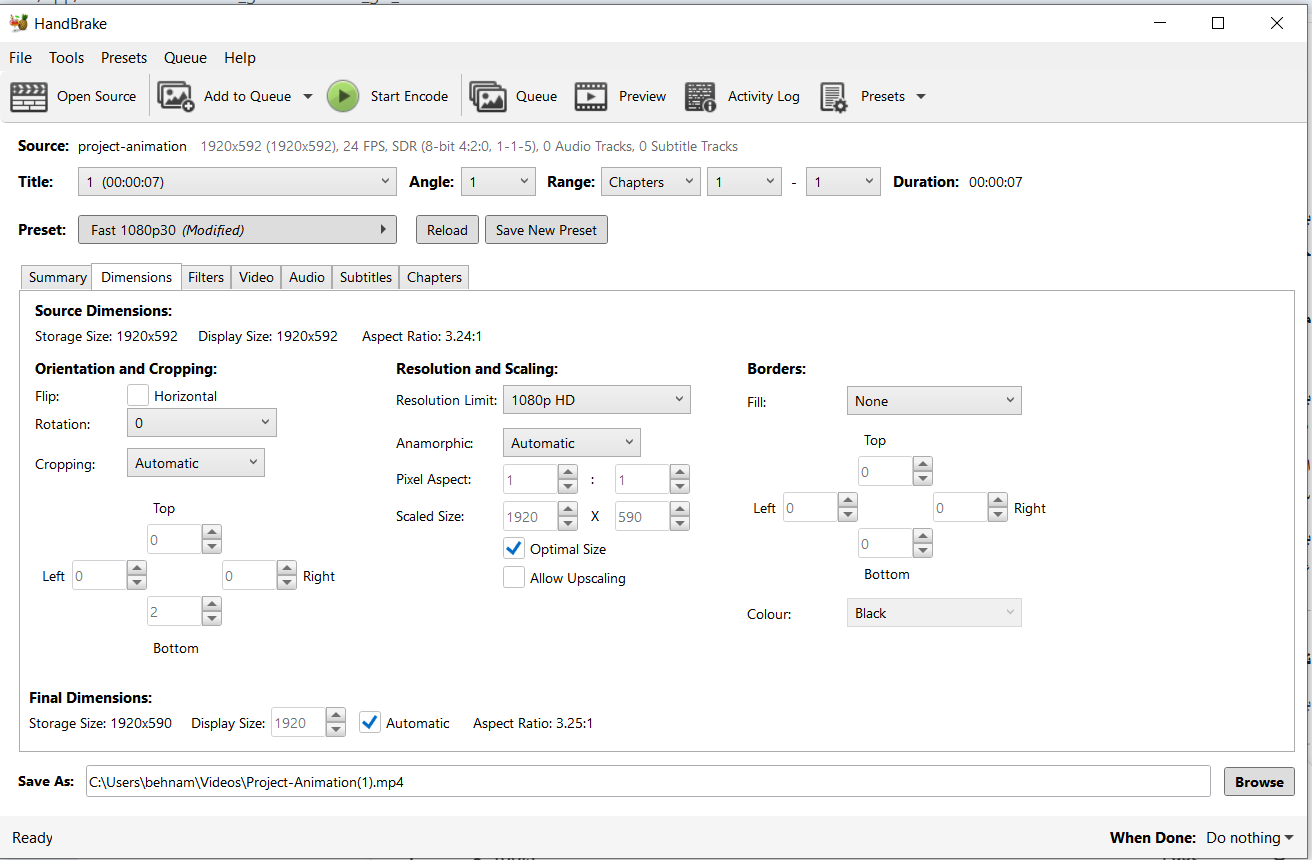
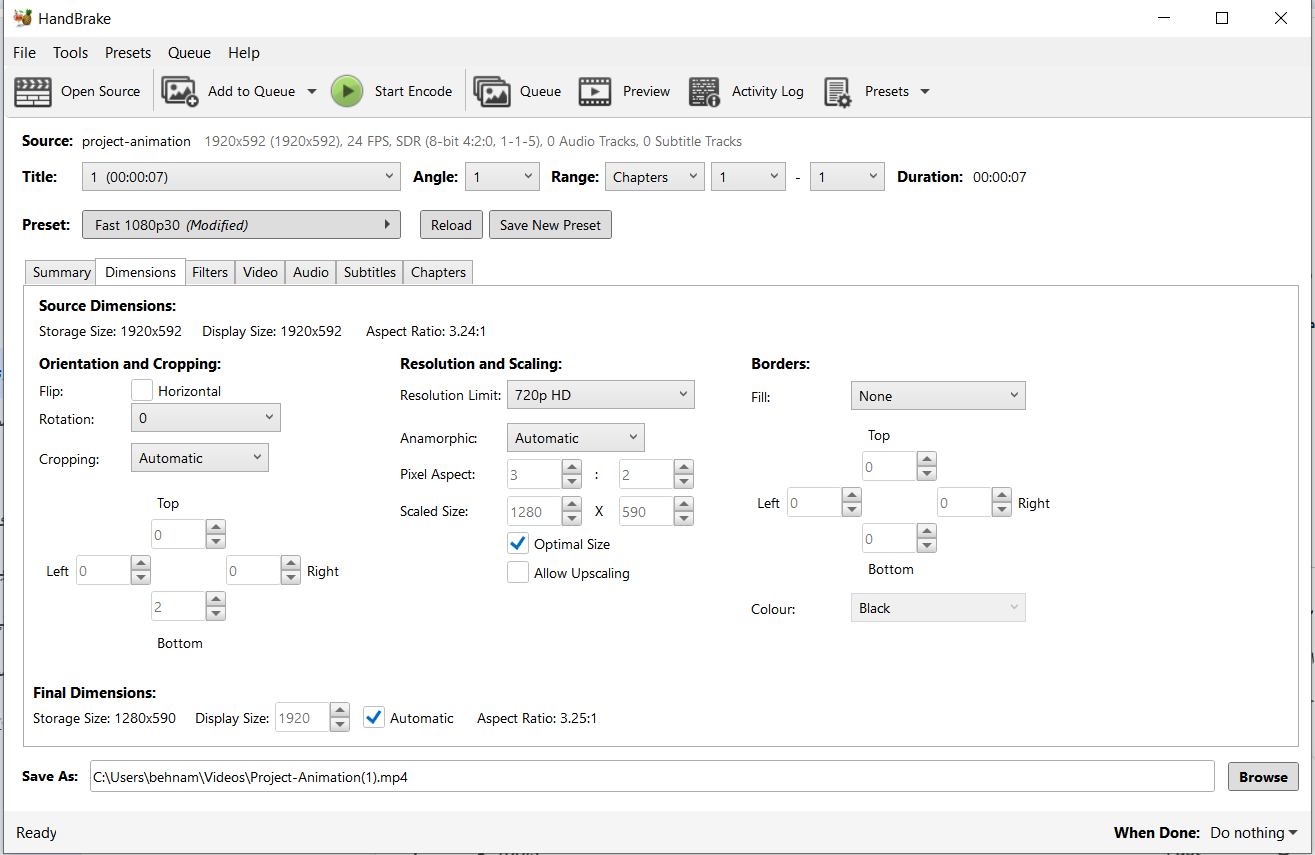
Figure 3: Optimized 3D animation.
| File | Original Size | Compressed Size |
|---|---|---|
| Project-Animation.mp4 | 884 KB | 671 KB |
3D Design Tools and Methodology (Fusion 360)
Design Tools Used
- Sketching & Constraints: Used to define the 2D profile of the pill box on the XY plane with precise geometric constraints.
- Dimensions: Applied to ensure the model follows real-world specifications, such as the 180mm total length and 30mm width.
- Extrude: Utilized to transform 2D profiles into 3D volumes by giving the body its vertical height.
- Fillet: Applied with an 8mm radius to the corners and top edges to create an ergonomic, rounded finish.
- Appearance & Materials: Used to assign 'Solid Matte Plastic' textures and distinct grey shades to the lids for visual organization.
Step-by-Step Design Process
- Initial 2D Sketching: I started by drawing the main rectangular base in the Sketch environment. I used the Dimension tool to set the specific length of 180mm and width of 30mm to fit the pill compartments accurately.
- Internal Compartments: Within the same sketch, I designed seven equal rectangular slots (approx. 18x25mm) for the medication storage, ensuring consistent spacing between them.
- 3D Base Extrusion: I selected the outer profile and used the Extrude tool to create the main 3D body. I then extruded the internal walls to define the height of the compartments.
- Ergonomic Refinement: To remove sharp edges, I used the Fillet tool on the exterior corners and top rims. This is a crucial step for a handheld medical device to ensure comfort and safety.
- Rendering & Visualization: Finally, I moved to the Render workspace. I applied different materials to the lids and body to simulate the final product. I generated the final image using Fusion 360's built-in renderer to showcase the textures and lighting.
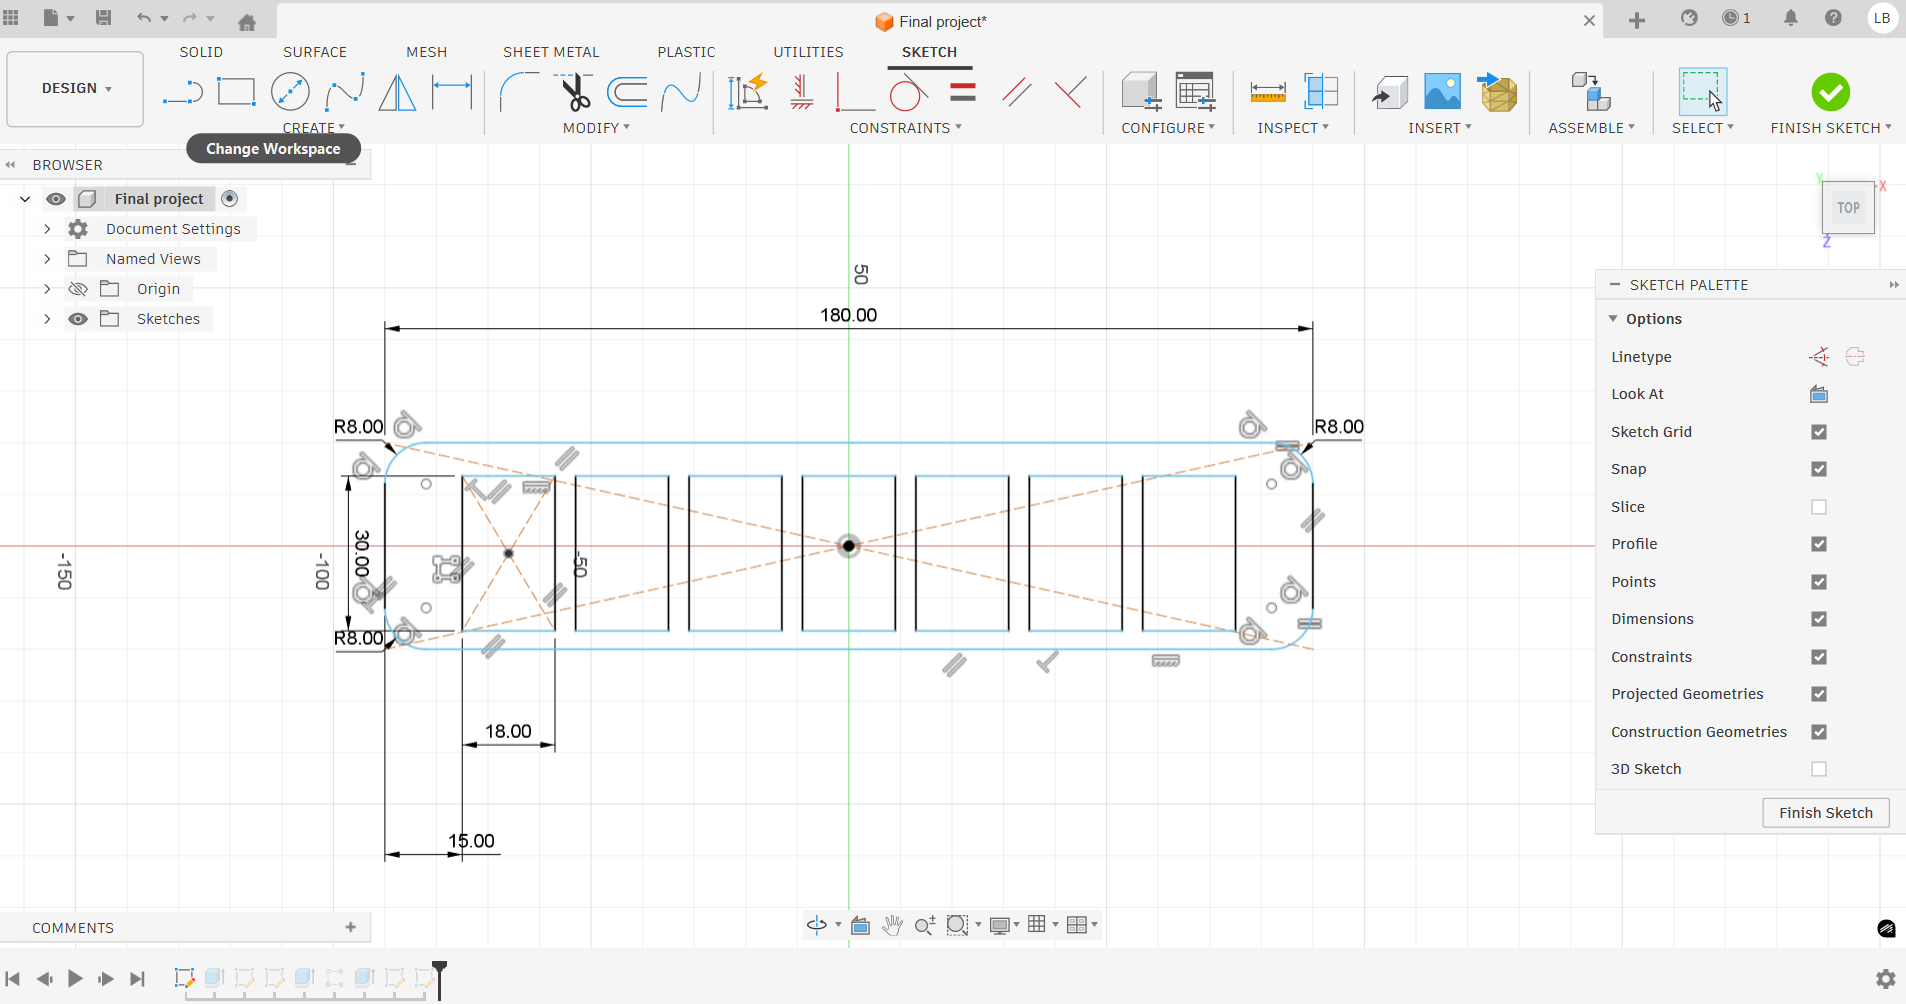
Sketch 1: Initial 2D Sketch
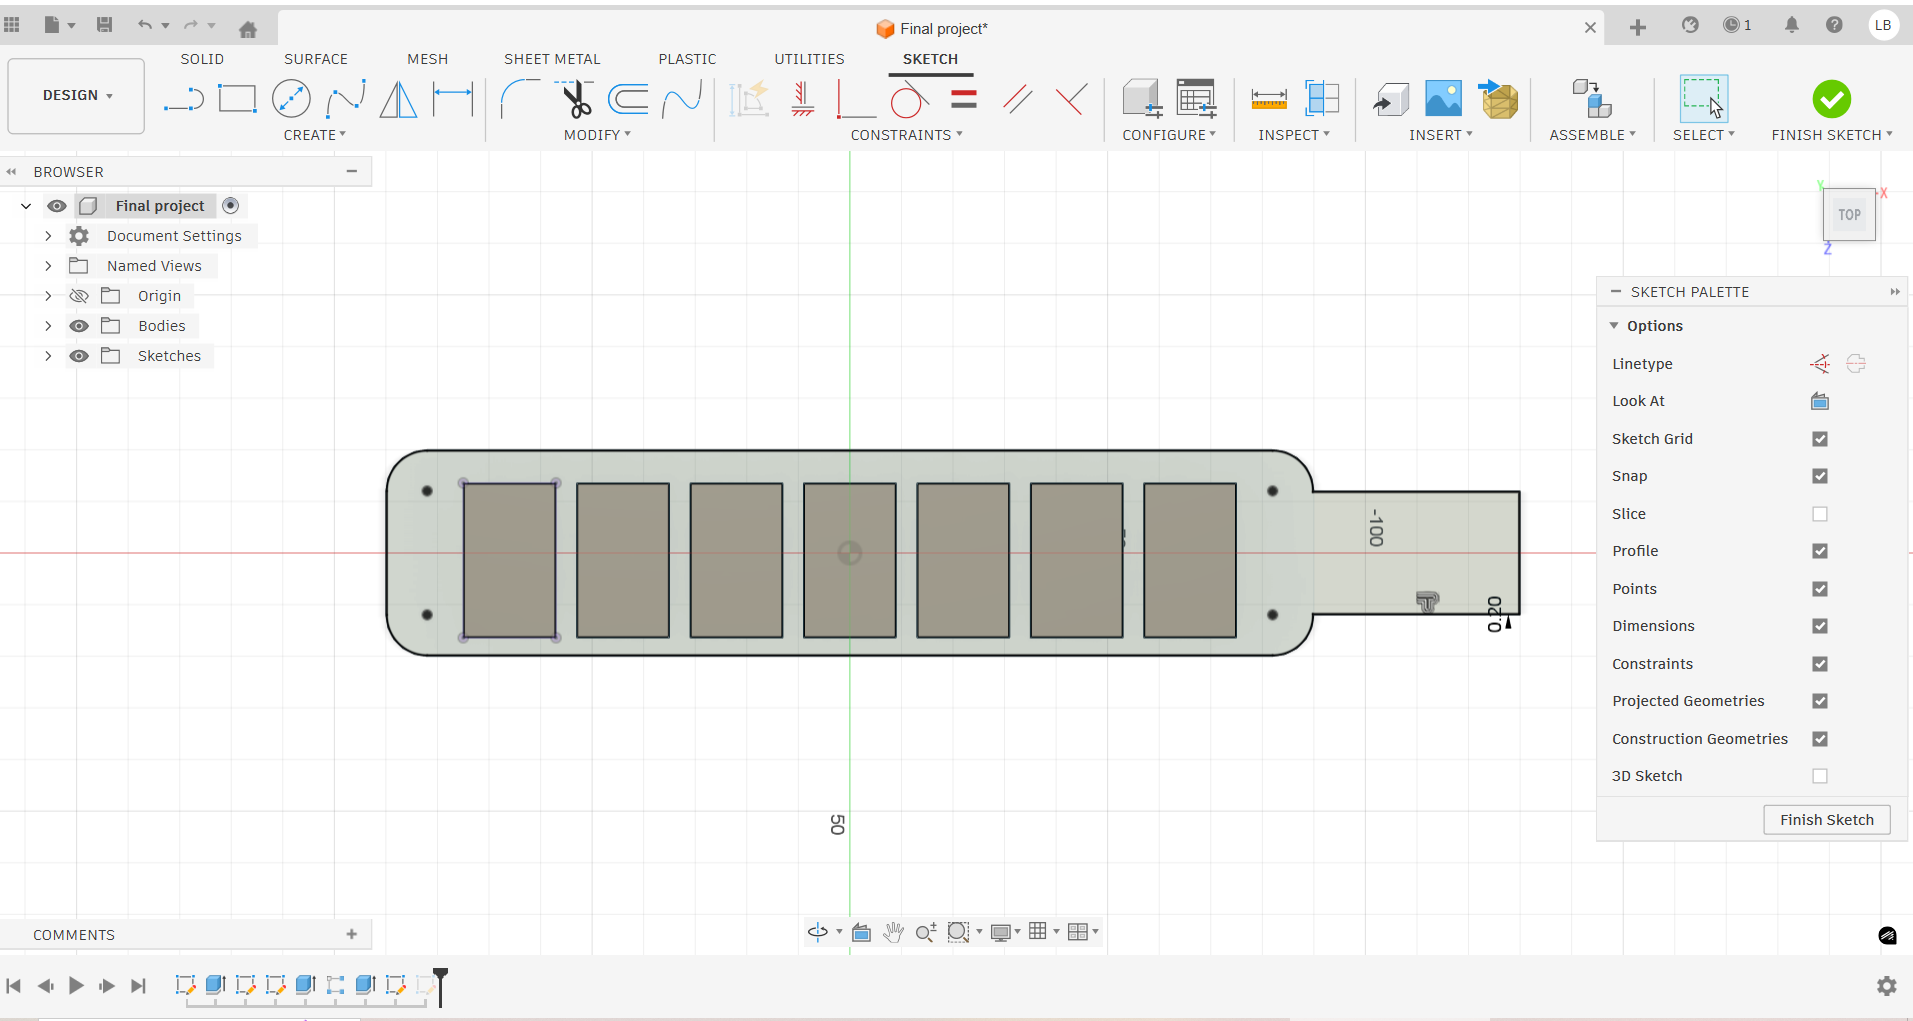
Sketch 2: Dimensional Constraints
Final Project Design Files
Download the original 3D files to view or modify the design:
Download Fusion 360 (.f3d) Download STEP File (.step)