Project Management & Website Development
Setting up the documentation environment and version control.
1. Introduction and Potential Users
This project is part of my Fab Academy journey. The primary potential users and target audience for my final project and documentation are:
- Elderly Individuals: Especially those living alone who may struggle with remembering their medication schedules.
- Patients with Chronic Illness: People who need to manage multiple medications throughout the day.
- Makers and Enthusiasts: Those interested in digital fabrication, healthcare tech, and open-source projects.
- Collaborators: Technical experts who want to understand the workflow and contribute to the smart healthcare system.
2. Version Control with Git and GitLab
To manage my code and document my progress, I use Git (a distributed version control system) and GitLab (a web-based platform for Git repositories).
Setting up the Environment (Windows)
Since I am using Windows, I installed Git Bash to use terminal commands. To securely connect my computer to GitLab, I had to set up SSH Keys:
- I opened Git Bash and ran:
ssh-keygen -t ed25519 -C "Leila.Biglari@student.oulu.fi" - I copied the public key and added it to my GitLab Profile > Settings > SSH Keys.
Cloning and Essential Commands
I cloned my repository using: git clone git@gitlab.fabcloud.org:academany/fabacademy/2026/labs/lbiglari25/students//lbiglari25.git
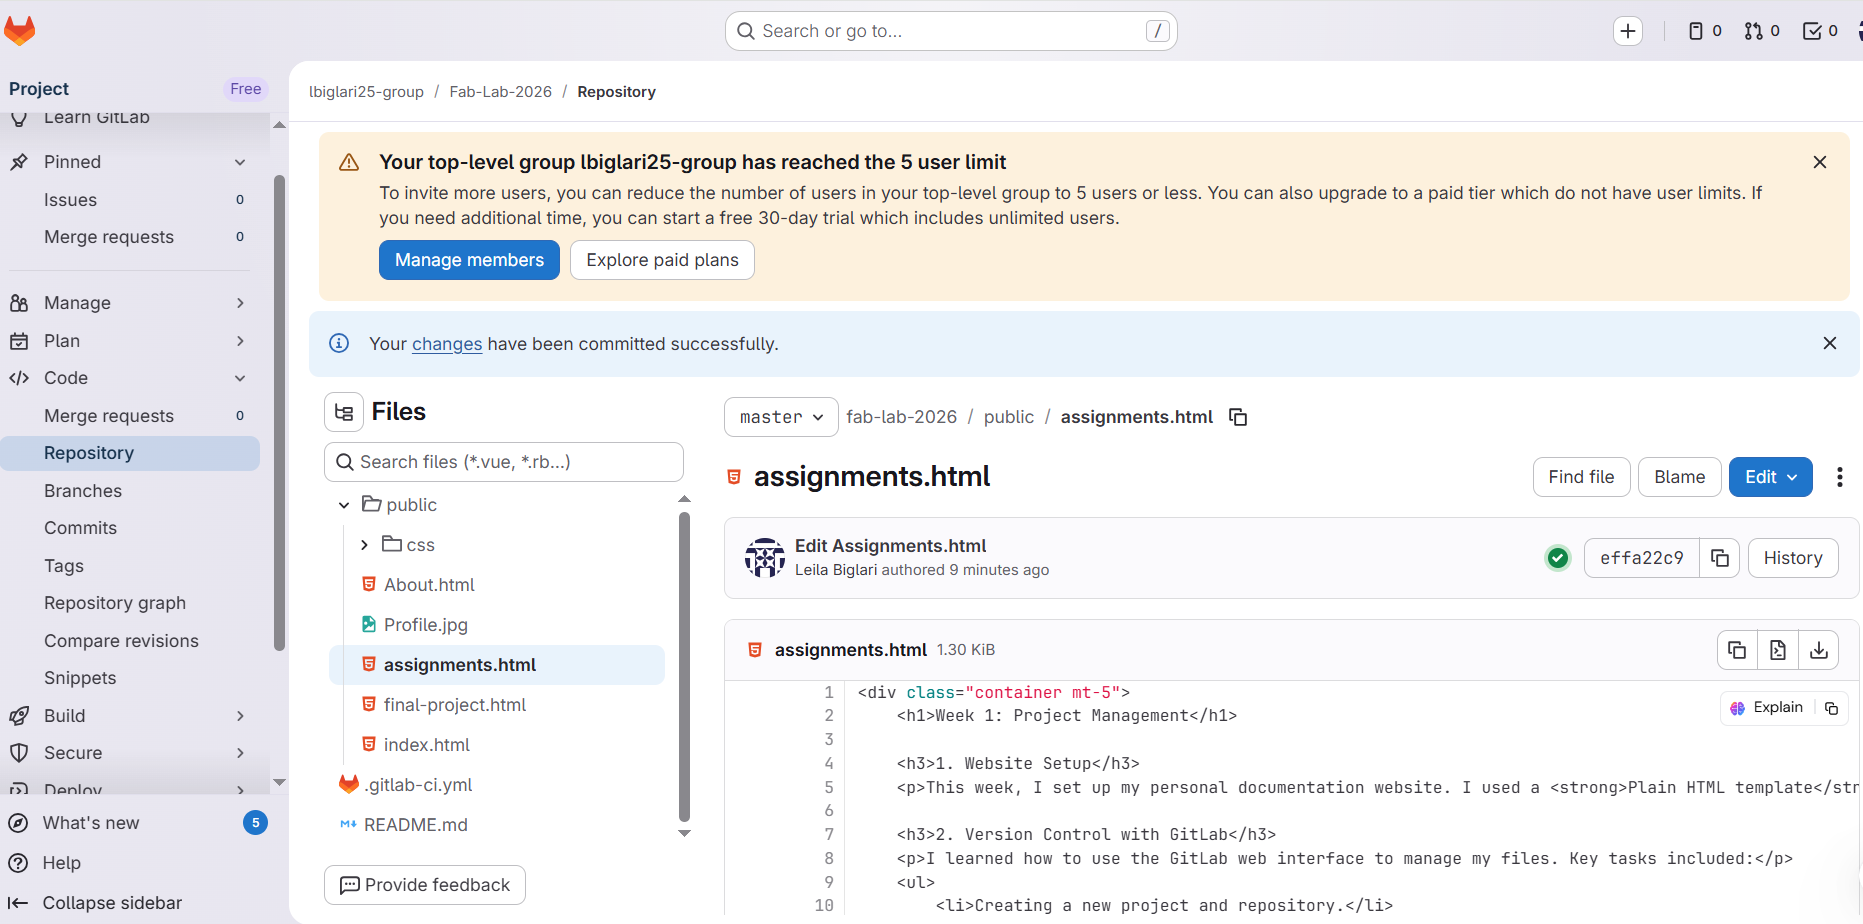
Figure 1: My GitLab file structure in the public directory.
My daily workflow involves: git status, git add ., git commit -m "message", and git push to update my site.
3. Development Process & Methodology
Building this website was a journey of learning HTML, CSS, and automated deployment from scratch.
Selection of Original Template
I initiated the project by selecting a template from Start Bootstrap, specifically the Bare (Starter Layout). I chose this minimal boilerplate to allow for maximum customization while keeping the code clean. All base HTML5 elements were implemented following the MDN Web Docs HTML Reference.
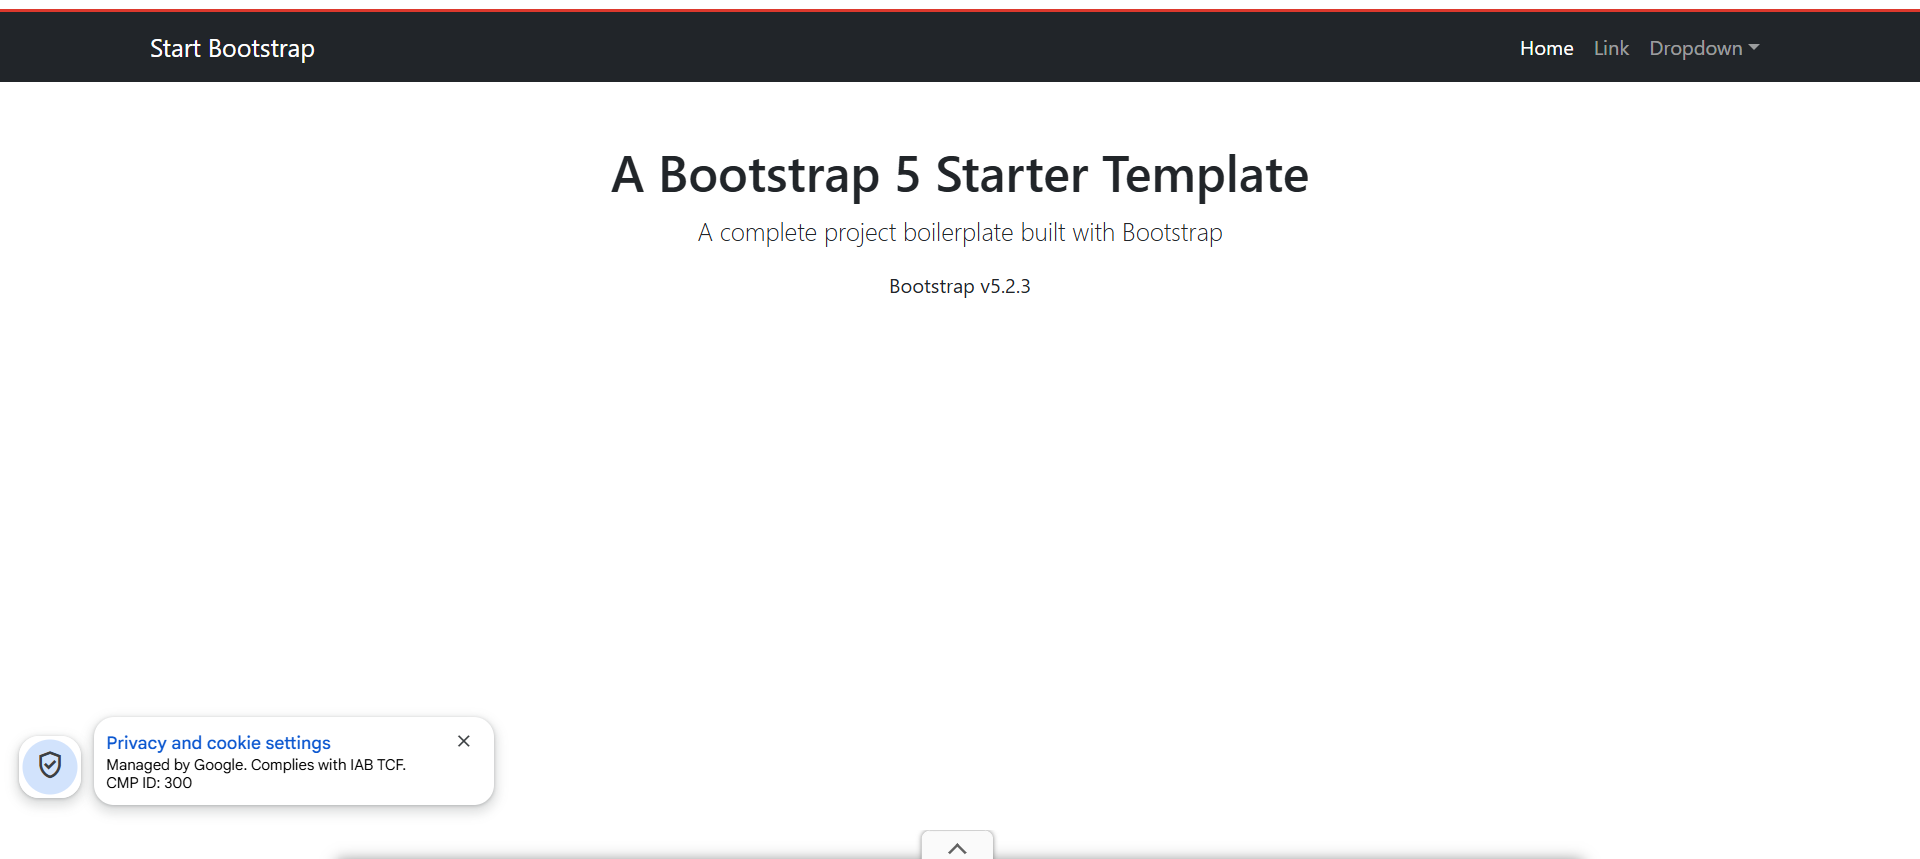
Figure 2: Initial state using the Bare template.
Code Modifications (Semantic & Visual)
I performed significant refactoring to improve both structure and style:
- HTML Structure: Transitioned from generic divs to semantic tags (<nav>, <ul>, <li>) for better accessibility.
- CSS Styling: Created
global-style.cssto build a modern, dark-themed navigation bar using Flexbox.
HTML Refactoring Snippet:
<nav class="custom-nav">
    <div class="nav-container">
        <ul class="nav-links">
            <li><a href="index.html">Home</a></li>
            <li><a href="about.html">About</a></li>
        </ul>
    </div>
</nav>
CSS Flexbox Implementation:
.custom-nav {
    background-color: #2c3e50;
    padding: 15px 0;
}
.nav-container {
    display: flex;
    justify-content: space-between;
    align-items: center;
}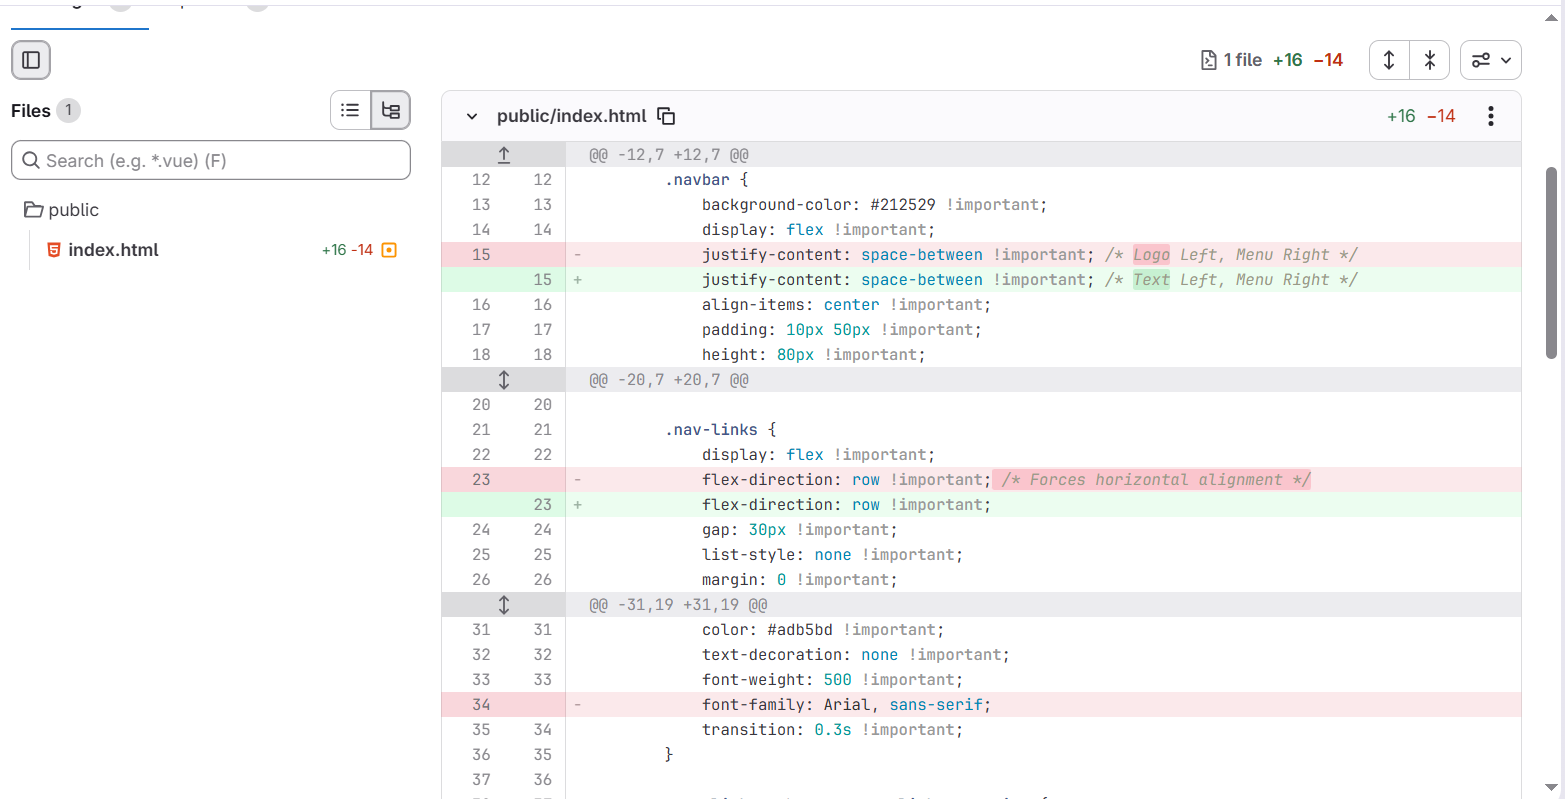
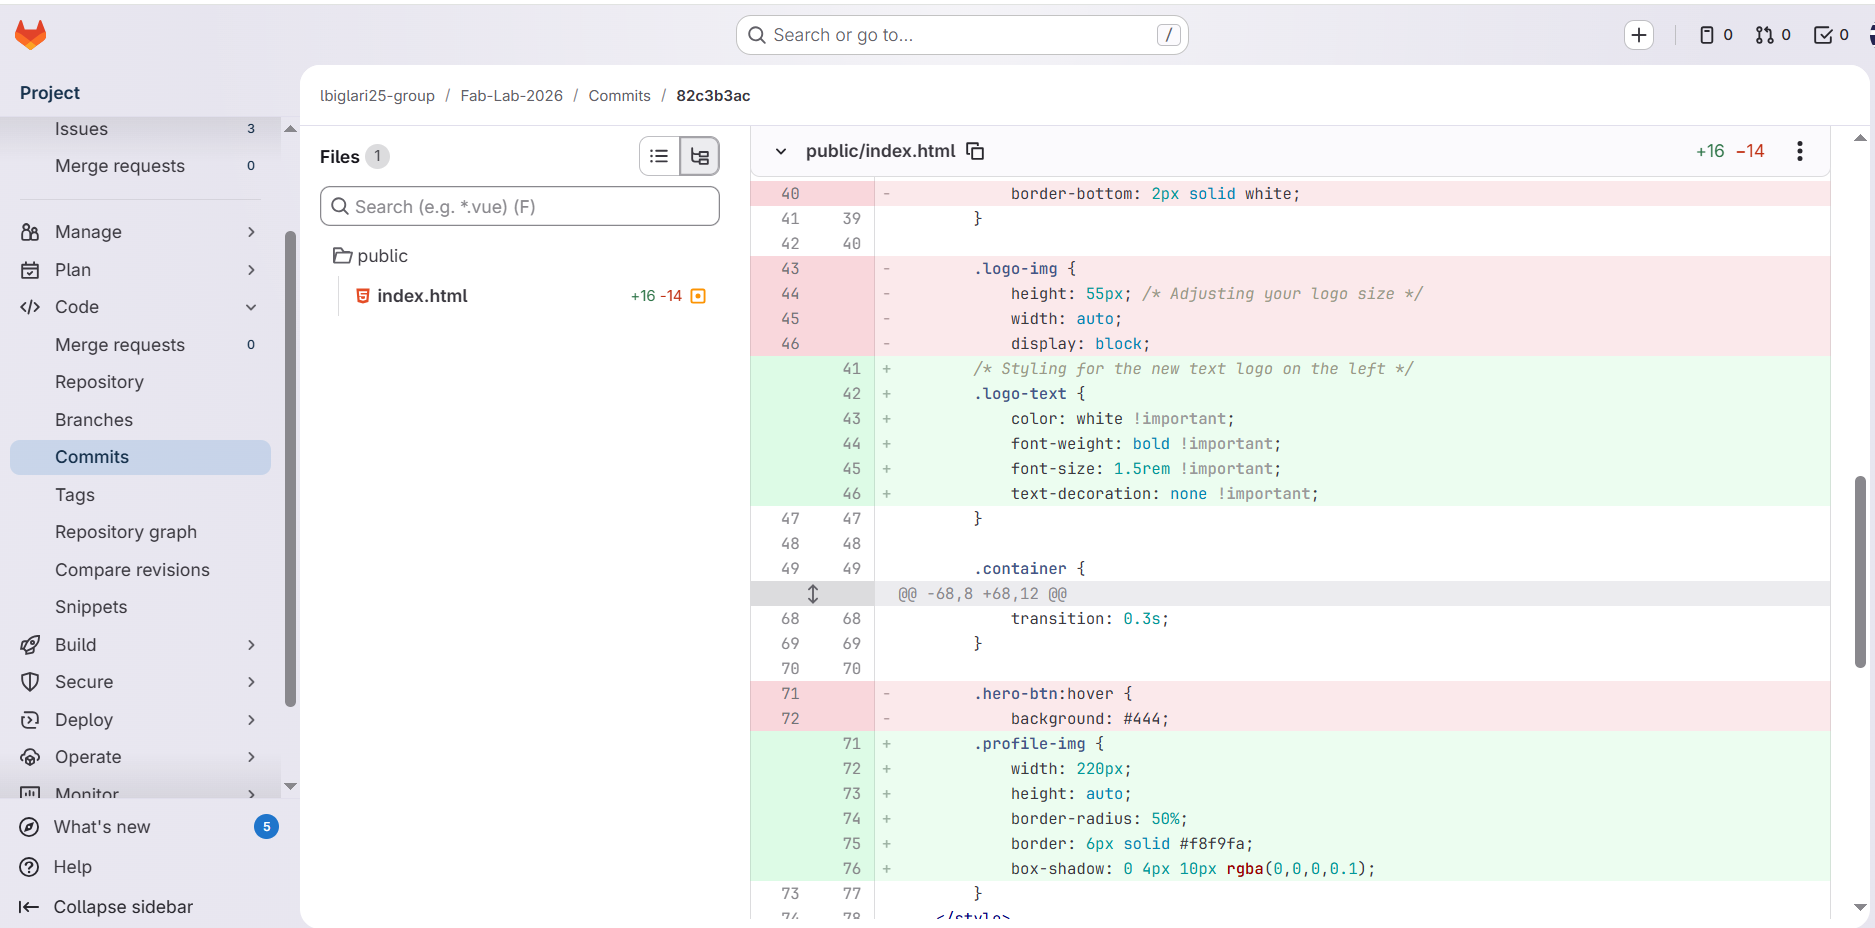
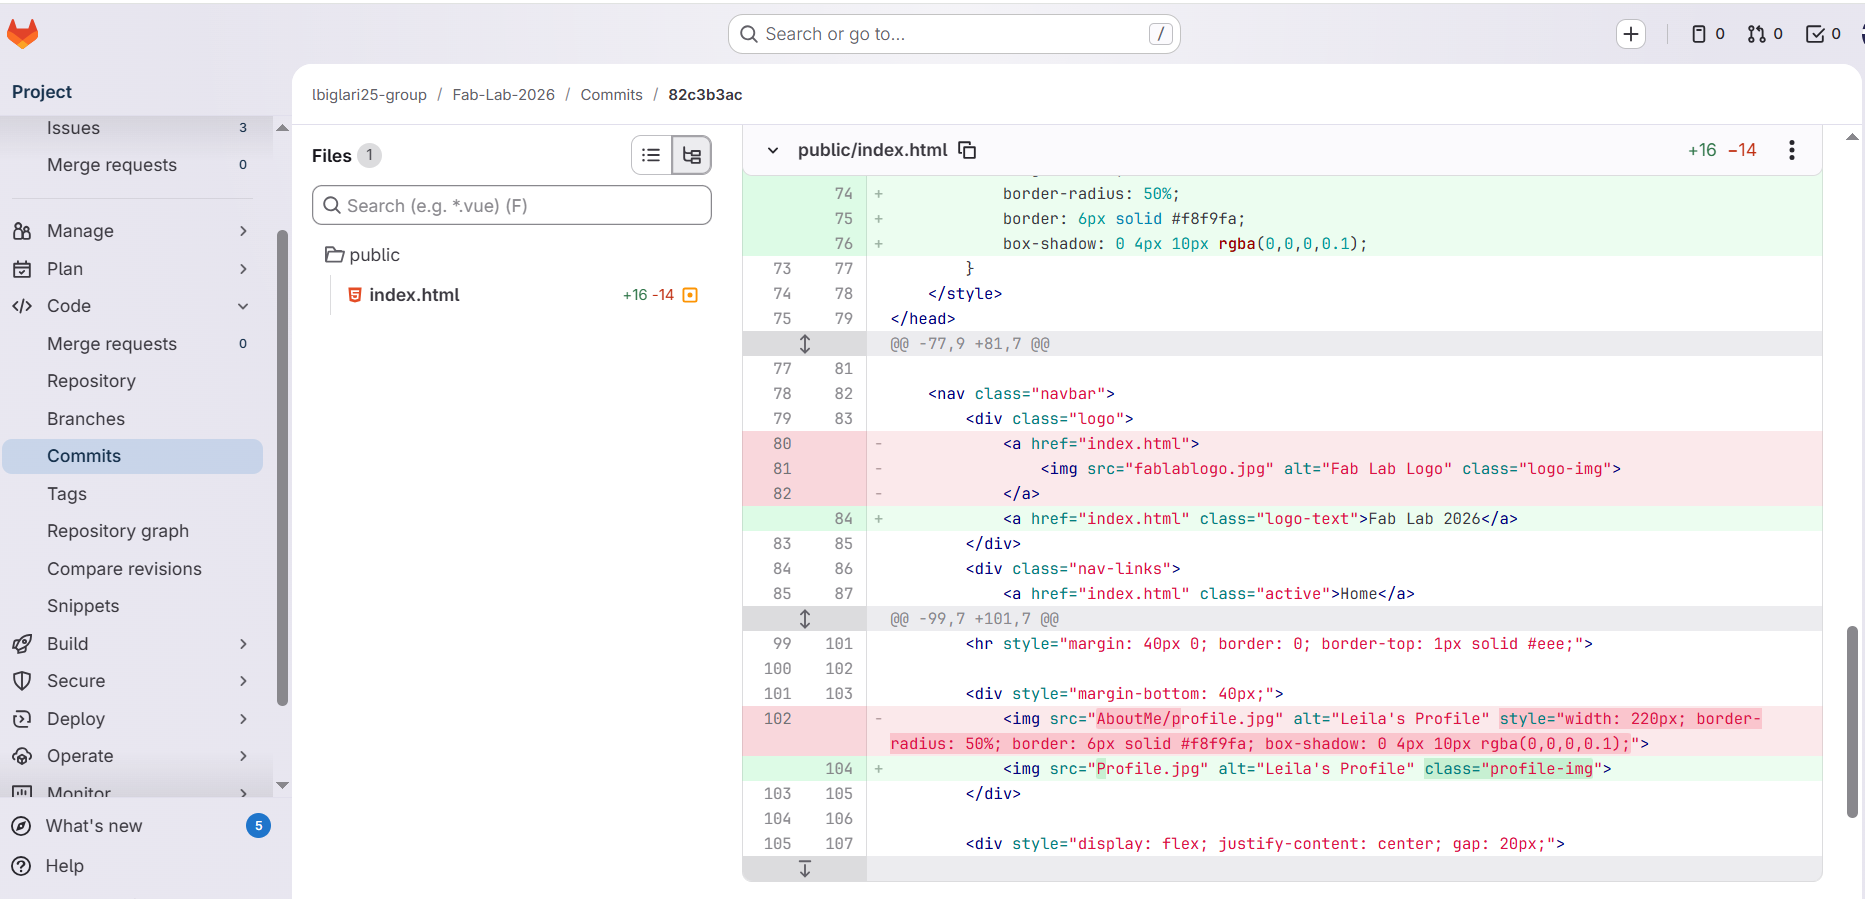
Figure 3: Step-by-step code modifications and GitLab commits.
4. AI Assistance (Gemini AI)
I utilized Gemini AI as a supportive tool for troubleshooting and optimizing the layout logic. The following prompts were used:
- "How to override default Bootstrap navbar styles using a custom CSS file?"
- "Provide a CSS Flexbox example for a responsive navigation bar with centered items."
- "Best practices for semantic HTML5 navigation structures."
5. Automated Deployment (GitLab CI/CD)
Every time I push my code, GitLab uses .gitlab-ci.yml to run an automated job. This CI/CD pipeline ensures my live site is always synced with my latest changes on GitLab Pages.
6. Challenges and Problem Solving
As a complete beginner, the main hurdles included managing Relative Paths for the Navbar across different directories and resolving Image Path Errors caused by case-sensitivity on the Linux-based GitLab server.

Figure 4: Overcoming the 404 error by fixing file naming conventions.
7. Final Project Concept: Smart Pillbox
My final project goal is to build a Smart Pillbox. This device aims to help seniors and patients stay on track with their medication. This week, I defined the scope and used Inkscape to create the initial sketches.
As part of my research, I explored similar open-source healthcare projects in the Fab Academy archive, such as the work of Alana Duffy, to learn from their design and technical implementation.
Final Reflection
The Fab Lab project has provided me with a unique opportunity to challenge myself. While there is still so much to learn, I am committed to improving my skills and evolving as a maker and a coder throughout this journey.